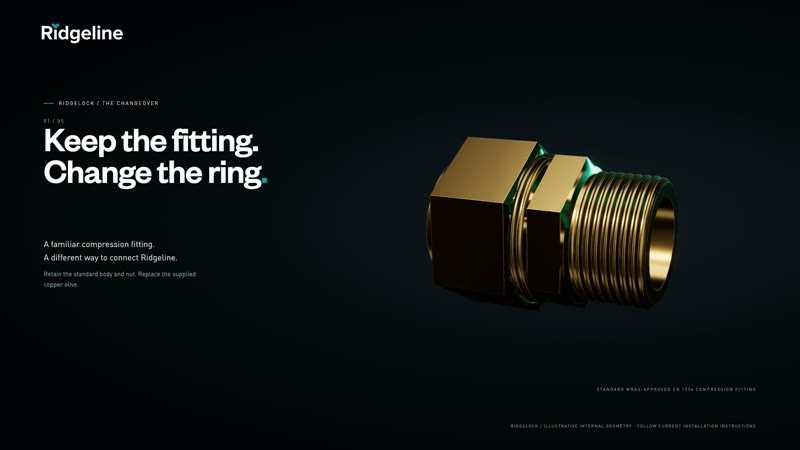
STEP 1 · 00:00
Keep the body and nut
Start with a loose WRAS-approved EN 1254 compression fitting. Retain its original body and nut.
Watch this step
RIDGELOCK · INSTALLATION FILM
Join Ridgeline corrugated 316L stainless water tube without a press tool. Watch the sequence or go straight to the step you need.
THE SEQUENCE, AT A GLANCE
These images are frames from the same animated film. The written sequence follows the current RidgeLock installation material.
STEP 1 · 00:00
Start with a loose WRAS-approved EN 1254 compression fitting. Retain its original body and nut.
Watch this step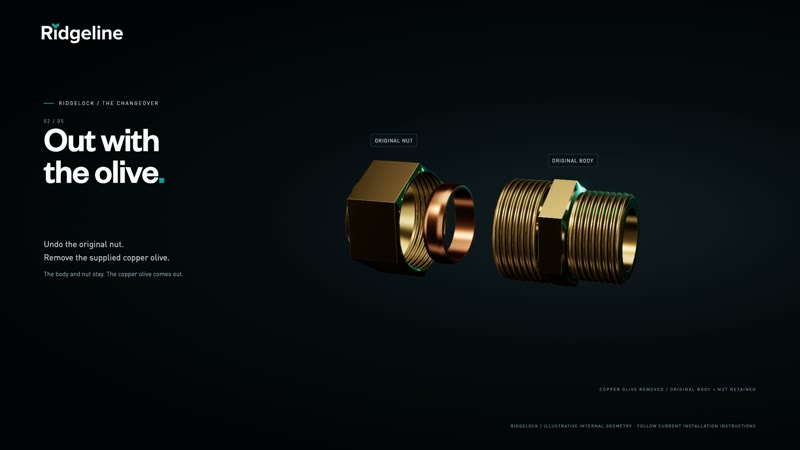
STEP 2 · 00:04
Remove the supplied copper olive. The RidgeLock sealing-ring assembly replaces it.
Watch this step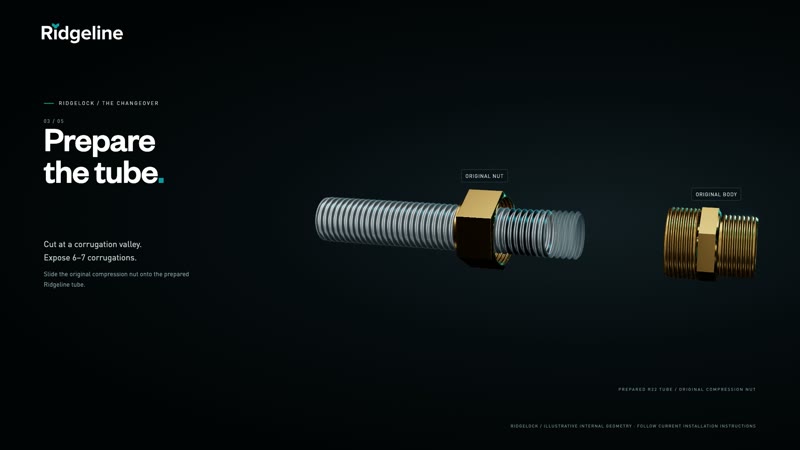
STEP 3 · 00:10
Cut in a corrugation valley. Expose 6–7 corrugations and slide the original nut onto the tube.
Watch this step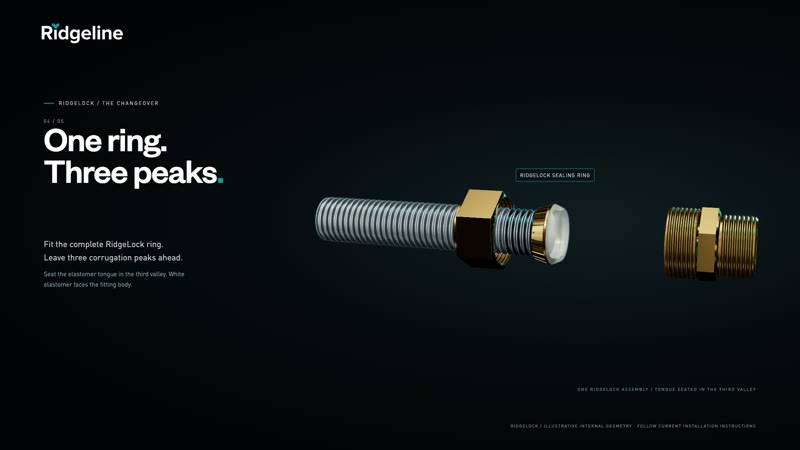
STEP 4 · 00:16
Keep the ring assembly together. The white elastomer faces the fitting body; seat its tongue in the third valley, leaving three peaks ahead.
Watch this step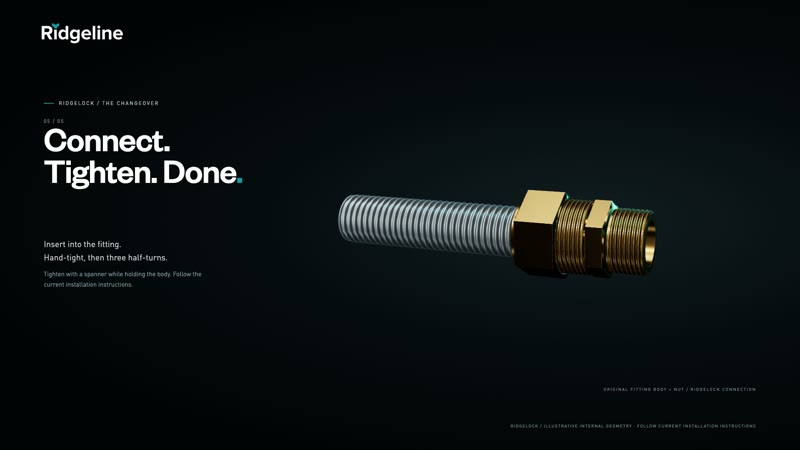
STEP 5 · 00:22
Insert into the fitting and tighten hand-tight, then a further three half-turns with a spanner. Hold the fitting body.
Watch this stepTAKE THE DETAIL WITH YOU
Use the source documents for product selection, installation and project checks.